Showing posts with label sewingwhatyouwear-wearingwhatyousew. Show all posts

Wednesday, April 06, 2011

Me Made March- The Finale

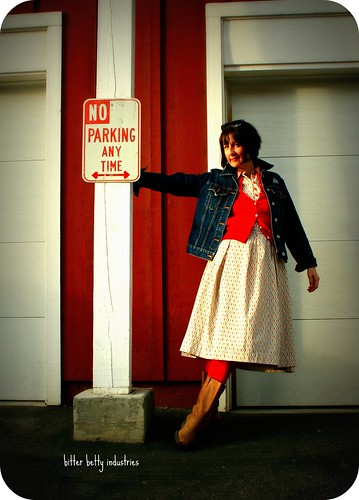
Me Designed Retro skirted blouse
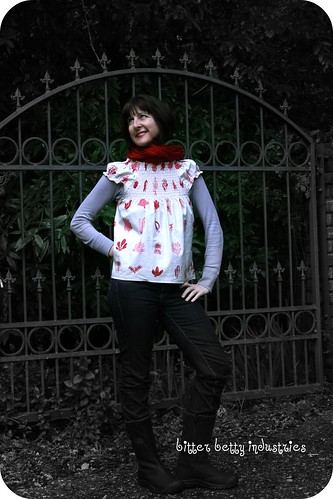
The New Vintage Wardrobe windmill blouse.

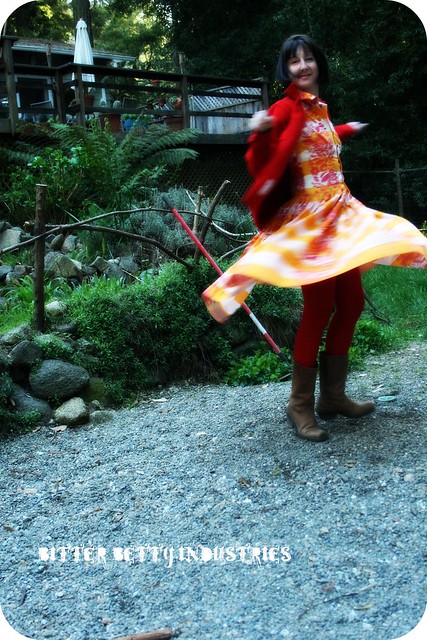
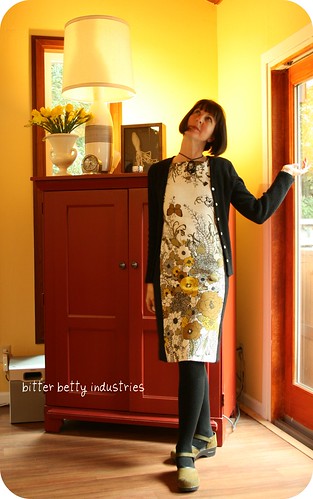
Modified New Vintage Wardrobe Shirtwaist Dress
Amy Butler Modified Cabo Halter in Vintage Zodiac Fabric

I had so much fun doing Me Made March that it was hard for me to get to this recap. I'm proud of what I accomplished. Only one pj day, one un photographed day, and one repeat outfit. My friends at the art studios have already asked "What happened to all the great outfits?" as I came down for a couple of days in jeans and t's. So I guess that is really a big boost to my sewing ego.

I will spend some time this summer making some more versatile separates (probably largely from Japanese sewing books), and a few layering pieces and I want to spend some Fashion Fridays introducing some really amazing bloggers that I met doing this great Experiment!

Thanks for bearing with me through all the goofy pics!

Friday, April 01, 2011

Shir- Fire Success: The Shirred Top Tutorial (No Fooling!)


I made myself  a super comfy fairly easy new blouse using elastic thread shirring!
A few of my Me Made March buddies said they'd like a tutorial so...
Here We Go!! 
( A little late. My PDF creating skillz are lacking!!!)

 
For this project you'll need:

Supplies:
  • Prewashed and ironed fabric. 1.5-2 yards
  • Matching and contrasting thread
  • Elastic thread

Tools :
  • measuring tape
  • scissors
  • marking method (tracing wheel and paper or dressmaker's pencil or pen is best)
  • straight edge
  • sewing machine 
  • downloaded PDF

1: 
Use the PDF to measure and cut the pieces for your shirt.
It's a few steps to get the measurements done.
The Math is easy!


2:
Mark your cut pieces on the 'right side' of the fabric.
use a straight edge and a more precise marking tool.
Straight lines to follow make all the difference!
More info on this step is in the PDF.

3: 
Hand wind your bobbin with the elastic thread.
Don't Pull It Tight.

4:
Join and hem pieces according to PDF instructions.
Use  matching thread to make these stitch lines less obvious.
( No pic, sorry, I just forgot to take one!!)

5:
Load elastic bobbin, thread machine with
contrasting thread for a more Faux smocked look
and set stitch length to the longest possible.
Start shirring.
Right side up, stitching carefully on the lines you marked.
Pull the fabric gently as you go, to make the few inches 
in front of the presser foot flat.

6:
Pull the cotton thread through to the back
and knot it to the elastic thread as you go. 
The stretchy nature of the elastic thread
will pull itself loose very quickly

7: 
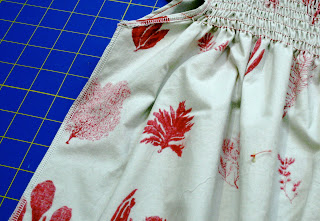
When you are done your shirring should look like this!~
If it's looser, a little blast of steam from your iron will help it gather.

8:
Join final sleeve to back panel.
(Again no pic. I got too excited!)
(you could try and do this before you shir, 
but I like having the flatter garment to work on
what with all the bunching that is already involved!)
And then sew down the sides.

9:
Hem and Wear it!


I love these silly little blouses because they are perfect for warm weather. 
Comfy and breezy.
All the tiny knots take a little time, 
But I will probably wear this once a week all summer! 
And if you get the shirring principle down?
You can add shirred wasitbands,  or smaller rectangular panels, little plackets...
The imagination reels!

Sew On, My dearies!
Betty

Monday, March 28, 2011

Me Made March Week 4! More and More of What I Wore.

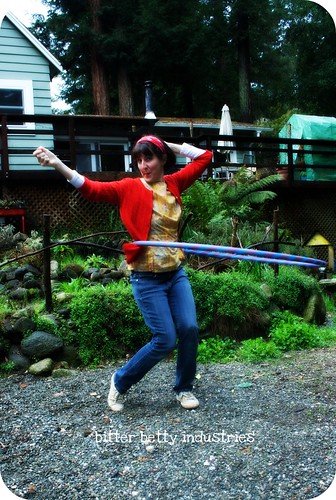
83/365 MMM23 Hoop You Like My Blouse
NVW Overblouse

MMM22: The Table Cloth Sheath
The Tablecloth Sheath Dress

87/365: MMM27 Scallop-y skirt
Scallop Edge Skirt


MMM26: Jacket Reprised
The Jacket Again

85/365: MMM25 The NEW Shirred Shirt
The New Shirred Shirt... Tutorial is On the Way


I'm finding that I'm altering a lot of items that hadn't been finding their way into my regular rotations.
Arm and neck holes that were tight  are now more open. It's good. I'm learning so much from focusing on the real "wear-ability" of my handmade garments. I really recommend this exercise for anyone who doesn't embrace the whole of their handmade wardrobe.

Tuesday, March 22, 2011

Me Made March Monday (or Late Tuesday): What I Wore... Some More

Oooff.
I'm a little late posting.
After the Chick N' Cart tutorial (Thanks to all the wonderful blogs who have linked!) I was planning on taking a couple days to think of my next big plan,
but then we had a power outage and now... boom, I'm all behind.

So, here we are, Me Made March Monday...late on Tuesday.

Bumpkin Chic Styled 50's Frock with bloomers

Super 70's Pj's

60's upholstery remnant jacket

60's wiggle Dress 90's Styling

What,  Me Work? Tunic With Utili Obi.

As you can see... Mostly still having a grand old time,
sewing what I wear and wearing what I sewed!

Monday, March 14, 2011

Me Made March Monday: What I Wore


 Me Made Blue gingham shirt


Me Made Shirred Top


Me Made Vintage fabric Burda Dress


Me Made Japanese pants and Improv smock shirt


The Jacket That Started It All 


Click and find out what MMM is all about!!

For me it's about  proudly and thoughtfully wearing what I made!
At least one Me Made Item every day for a month!


So, How am I doing?

Tuesday, March 08, 2011

Me Made March : Week One in Review!


mmm2: western mermaid shirt
the mermaid western shirt

62/365: MMM3-the 50's Frock
the 50's frock

36-365:MMM4 green pencil skirt
the rescued fabric pencil skirt

64/365:MMM5-Little White Blouse
the New Vintage little white sailor blouse

65/365:MMM6-Housewife Wear
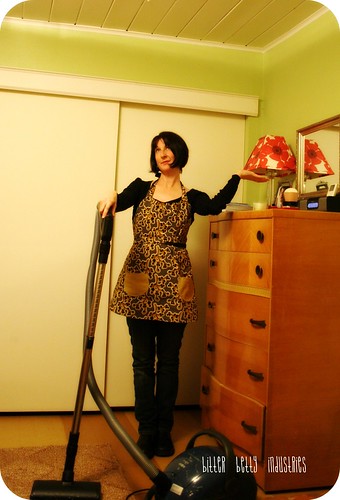
The Lotta Jansdotter Simple Sewing apron

The Stash Skirt

Well, that was quite a week! It was great to commit to wearing handmade, to documenting the handmade the way I wear it out in the real world, and to seeing all the other people doing the same.
It's got me sewing mojo all jazzed up. Spring Wardrobe here I come! 

Stay tuned next week to see More 


(thanks so much Zo!)
Related Posts Plugin for WordPress, Blogger...